An event post is a normal blog post, with one or more attached events. On the Write Post page, scroll down and you will see the Event Editor. You might need to click the little ‘+‘ in its blue bar, to see the controls.
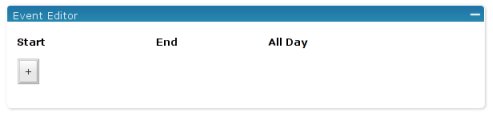
To start with, you will only see the column headings (Start, End and All Day) and the ‘+’ – add event button. Click ‘+’ to add a new event.
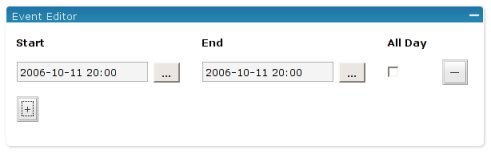
The event will start and end on the next full hour. To set the start date, click on the ‘…’ button, next to the start time. A popup calendar will appear.
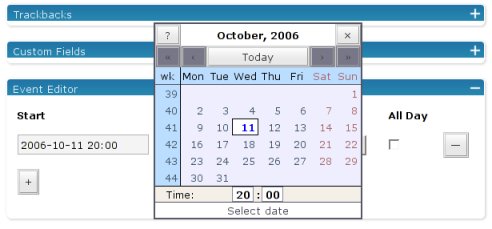
Select the new start date by clicking on the calendar. Optionally you can change the time by clicking on the popup’s time and dragging. Click on the ‘X’ to dismiss the popup.
You can also edit the date and time in the normal way, by clicking on the numbers and changing them with the keyboard. If you edit the date manually like this, make sure that you keep to the correct format: YEAR-MONTH-DATE 24-HOURS:MINUTES
When you change the Start field, the End field updates automatically, so that the event’s duration remains the same. If you want to change the duration, then edit the End field, just as you did for the Start.
If you tick the All Day checkbox, then the times are ignored – the event goes on through the whole day. You can make the event span over more than one day if you wish. You can also add more scheduled times for the same post. Just click the ‘+’ button to add more lines.
To remove an event, click on the ‘—’ button.
When you’ve finished editing your events, just Save the post in the normal way.